
By Rick Schultz
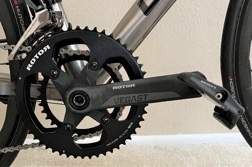
In part 2, we will be installing a Rotor VEGAST crankset with 24mm axle – (a 30mm axle version is also available), which is a modular crankset comprised of the crank arms, spider, axle and chainrings. ROTOS also makes the ALDHU crankset. The differences? The ALDHU is lighter but at twice the cost of the VEGAST. Look, feel, form, fit function are the same, just the weight is different. The cranksets come in two options, depending on the Spider, you can opt for either 1-piece dual chainrings or more conventional individual chainrings. I chose the individual chainring option.
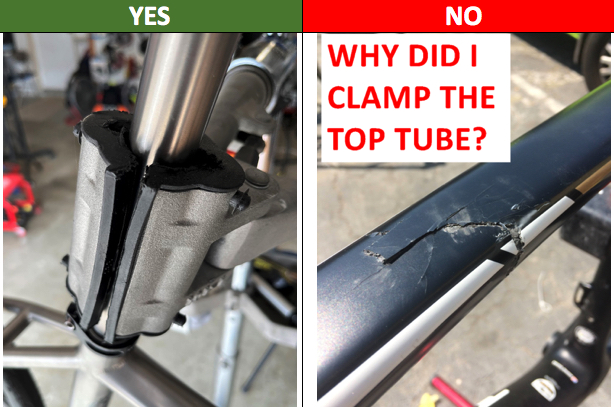
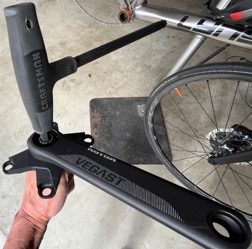
FIRST – Make sure to clamp the frame by the seatpost and not the top tube!
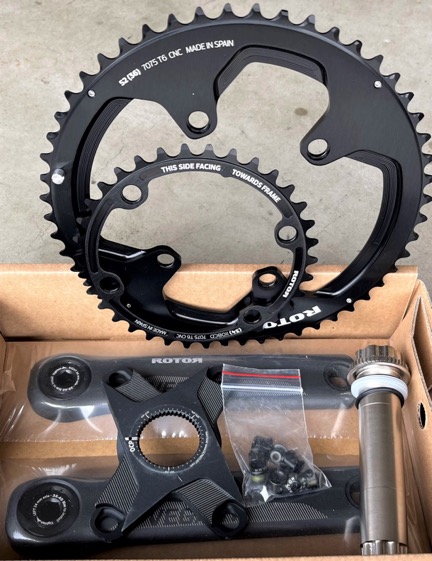
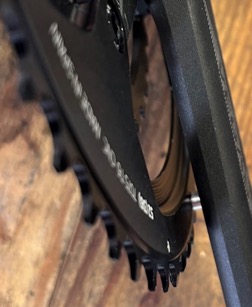
UNBOXING – What’s nice about this crankset is that if I ever want to install new crankarms, I just unbolt old ones and bolt on new ones. DONE! The Spider is notched to accept the spindle / axle which you can adjust for 1-5 Optimum Chainring Position (OCP). Chainrings come in 2 flavors, one-piece ones that use the spline on the spider/Spindle and two-piece ones that use chainring bolts (see above).
Step 1
For this first part, you are kind of doing several things at once. (a) aligning the spindle onto the spider to get the correct OCP (NOTE: this doesn’t matter much on round chainrings but, if you set it up right now and ever want to switch to Rotor (elliptical) Q-Rings it’s already set up), (b) installing the inner ring (NOTE: make sure it is facing the correct way), (c) install the outer ring, (d) bolt chainrings to spider using chainring bolts (NOTE: don’t exceed recommended torque setting since these are aluminum).
Here I am setting up the spindle with the spider.

Step 2
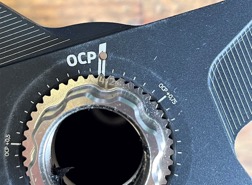
While most cyclists claim to have an OCP of 3, I’ve tested my OCP, and I am a 4. Set this up correctly now in case you ever want to install Q-Rings.
Note: OCP is set to #4.
Step 3
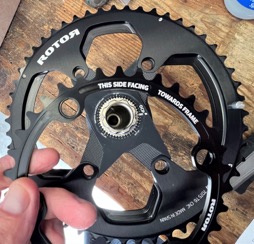
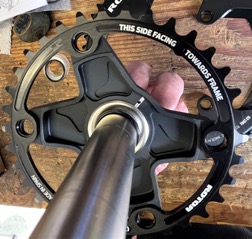
Getting the rings ready to install. Note horizontal line on spider, this is the direction of the drive-side crank arm.
Step 4
Make sure everything is pointing in the right direction. The drive-side crankarm will be pointed in this same direction as well.
Step 5
Attach the drive-side crank arm to the spider. Note: 35 Nm of torque needed.
Note: Make sure that you have the non-adjustable crank arm on the drive side. See step 9 below.
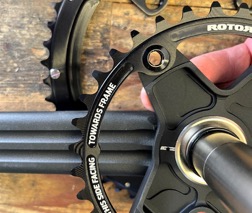
Step 6
Next, install the chainrings making sure the inner chainring is facing the right direction.
Step 7
Torque the chainring bolts to the recommended 7Nm.
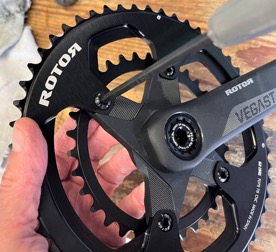
Step 8
Make sure that the chain-keeper is between the crank arm and big chain ring.
Step 9
Make sure that you have the adjustable crank arm on the non-drive side. You will use this piece to take up any slack upon final assembly.
Step 10
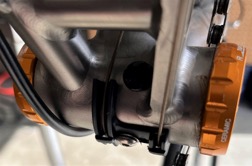
At this point ensure that the bottom bracket is clean, cables are in good condition, etc. If you need to replace the BB bearings, now is the time.
Step 11
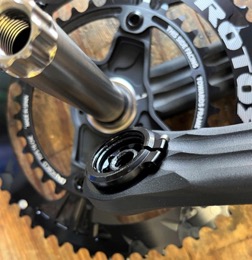
Slide the crank axle from drive-side through the BB and out the non-drive side. Place the non-drive side crank arm onto the spindle.
Step 12
Tighten with a 10mm hex wrench to 35 Nm.
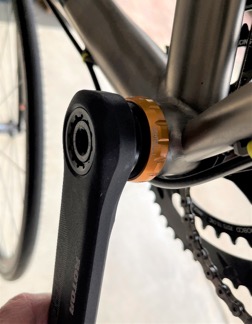
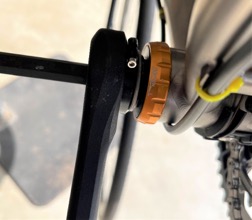
Lastly, turn the adjuster to remove slack from the crank set. Secure to 2 Nm with a 2mm hex wrench.
Step 13
Reinstall pedals and place chain back onto the chainring and you are done!
Conclusion
- Easy to follow instructions.
- But make sure and follow all instructions.
- If in doubt, contact your LBS
Now, if I even want to change the length of the crank arms, all I need to do is to swap out the crank arms instead of needing to install a whole new crankset!
Coach Rick Schultz is an avid cyclist who has trained, raced, and coached in Southern California and now resides in Bend, Oregon where he works as a bike fitter and bike fit educator. Rick is an engineer by trade and a prolific cycling product reviewer. He’s the author of Stretching & Core Strengthening for the Cyclist in the RBR eBookstore. Check his coaching site, www.bikefitnesscoaching.com. Click to read Rick’s full bio.
NO, that is NOT my frame with the CRACKED top tube. This was another frame that came to another shop where the DIY’er overclamped the top tube.
Finding TANDEM cranksets is a huge problem. We managed to find a triple ‘ring square taper set from Da Vinci with 170 mm front, 150 mm rear, the last set in stock at Tandems East. We did no spec determinations, rather we just knew from a quickie fitting at our LBS that we needed something shorter than our 172.5/170 mm set, the most common size for tandems. We put the set on our Calfee tandem. I at 5’9″ drive, use the 170 mm cranks; my wife at 5’3″ on the 150 mm cranks is in the rear. We spin so much better with shorter crankarms (!!!).
We really wish there were more options available for tandems! Lots of stokers are kids and/or spouses who are shorter than “average”. Some tandem couples with size disparities employ standard cranks for single bikes, thus the pedals are reverse threaded on one side, but it allows one to get shorter crankarms. As long as the pedals are tightened, problems are unlikely.