Review: Saris Cycle-On 2 Bike Hitch Rack – E-bike Ready

Jim’s Tech Talk
By Jim Langley

Price: $899.99
Weight: 53 pounds
Source: https://saris.com/products/cycle-on-2-bike-hitch-rack?variant=45304774164659
Hitch / receiver compatibility: 1.25- and 2-inch
Bike compatibility: standard and e-bikes up to 70 pounds each (bikes with fenders too)
Wheel / Tire size compatibility: 20- to 32-inch / up to 4-inch width
RV Compatibility: approved for use on Class A, B, and C motorhomes
Security: Saris locking hitch pin included; bike holders have built-in locks (same key as hitch pin lock)
How acquired: sample from company
RBR advertiser: no
Hot
- Comes assembled and ready to use right out of the box
- Built-in wheels make it easy to roll it to your vehicle and put it away
- Gets so small you could store it in any closet or the back of your car
- Bike grabber arms hold any frame tube, the seatpost or the wheel
- Included telescoping ramp makes even heavy e-bike loading a breeze
- Handles 2 e-bikes (up to 70 pounds each)
- Bike grabber arms have built-in locks for bike security
Not
- Not obvious which direction to mount bikes and it does matter on this rack
- Saris uses a 9mm hitch pin (others use ½- to ⅝ inches)
- Included telescoping ramp is separate so you could forget to bring it along or lose it
Saris’s Cycle-On Delivers Next-Level Hitch Rack Convenience
We’ve reviewed many hitch-type vehicle racks for bicycles over the years. Most share a common basic design feature, which is that the bicycles are held solely by their wheels. No part of the rack touches anything except the wheels and tires. Some only touch the tires.
This ensures that nothing can push, press or rub against the frame, which avoids scratches and potentially even worse damage. With the rising cost of bikes; delicate finishes on frames and components such as matte paintjobs; and sometimes needing to carry bikes that are covered in mud from the day’s ride, it’s understandable why this design is so popular.
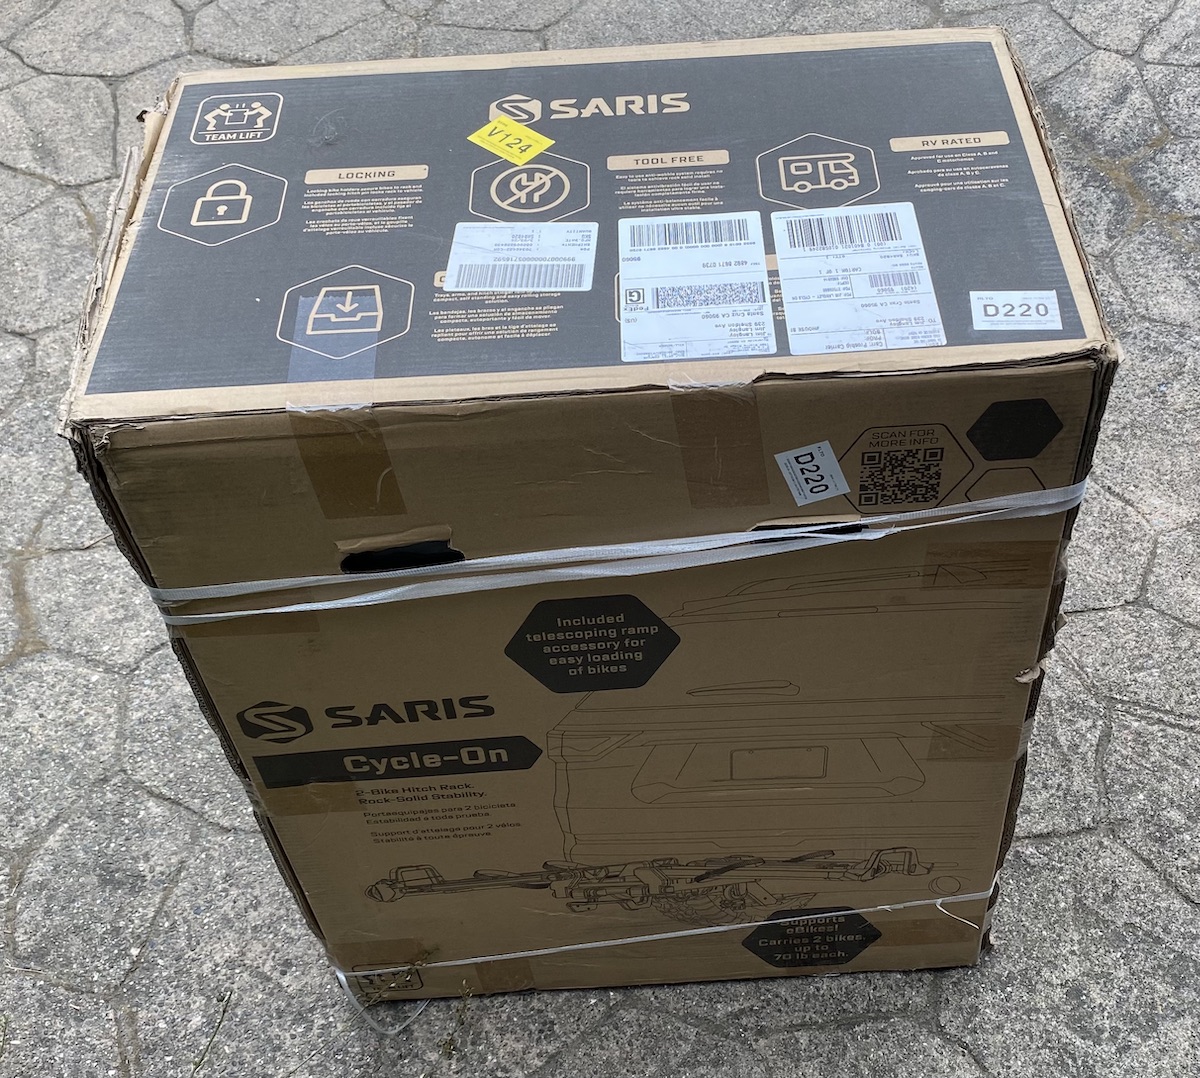
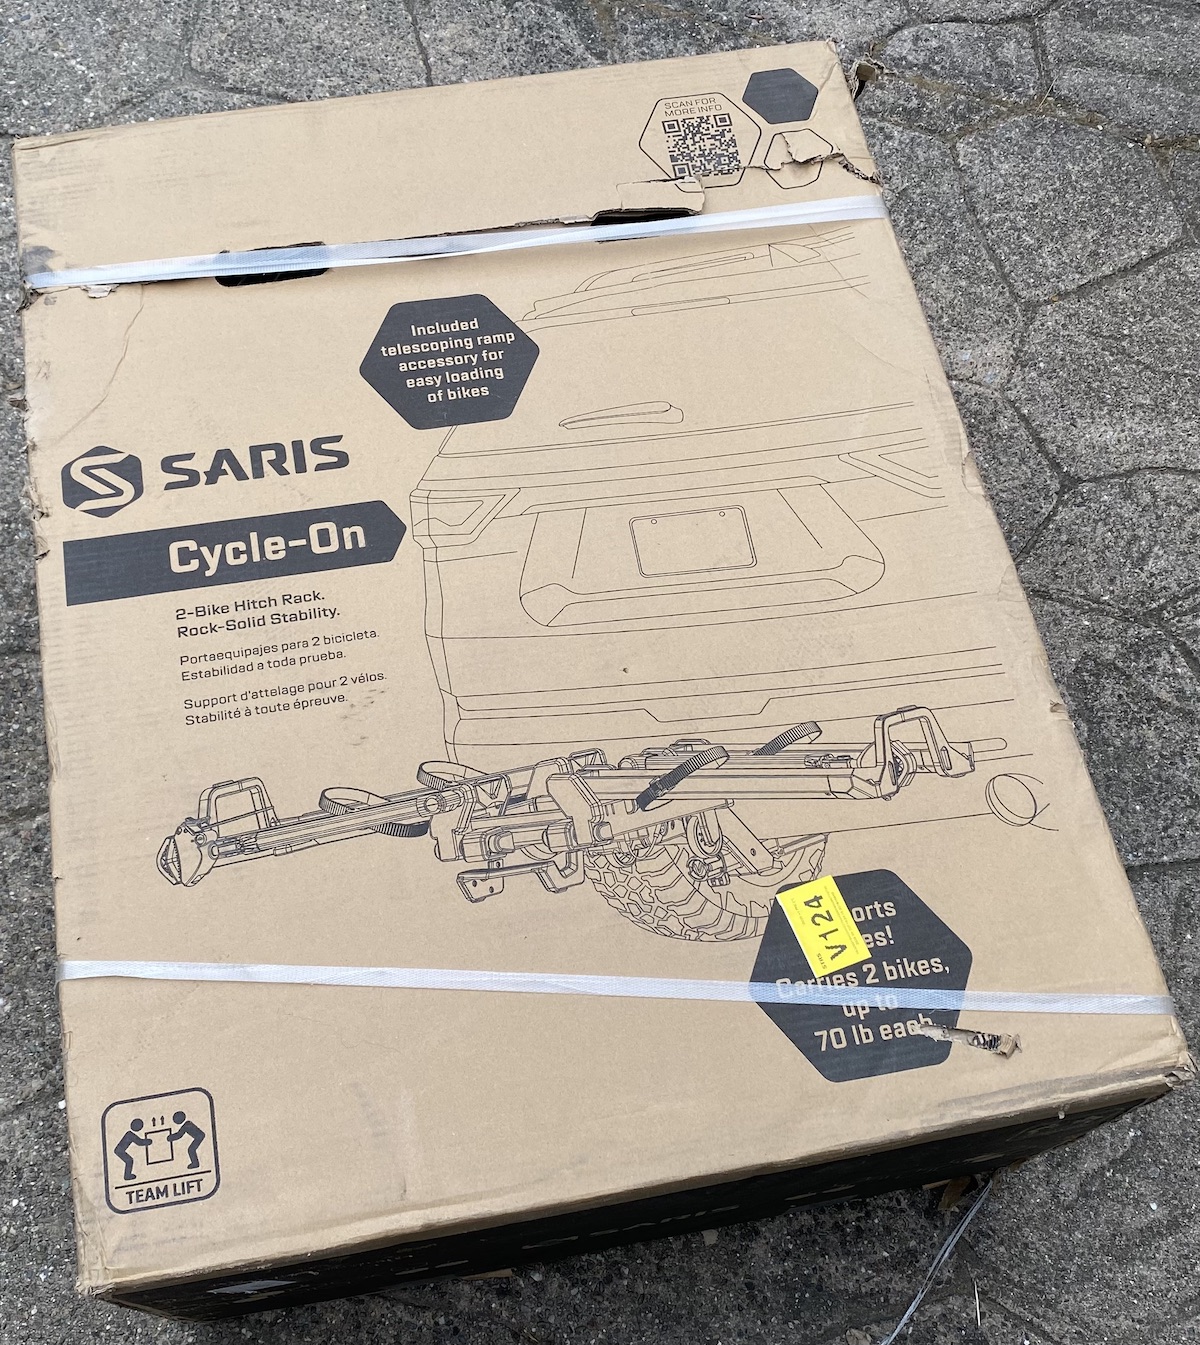
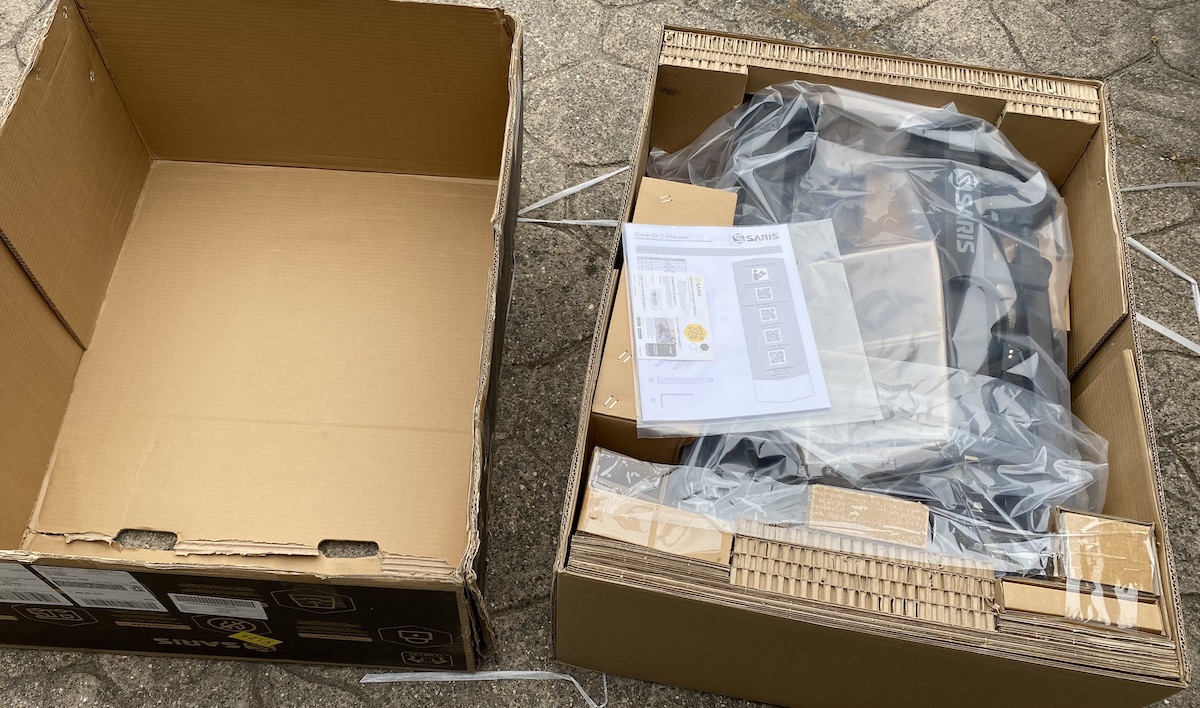
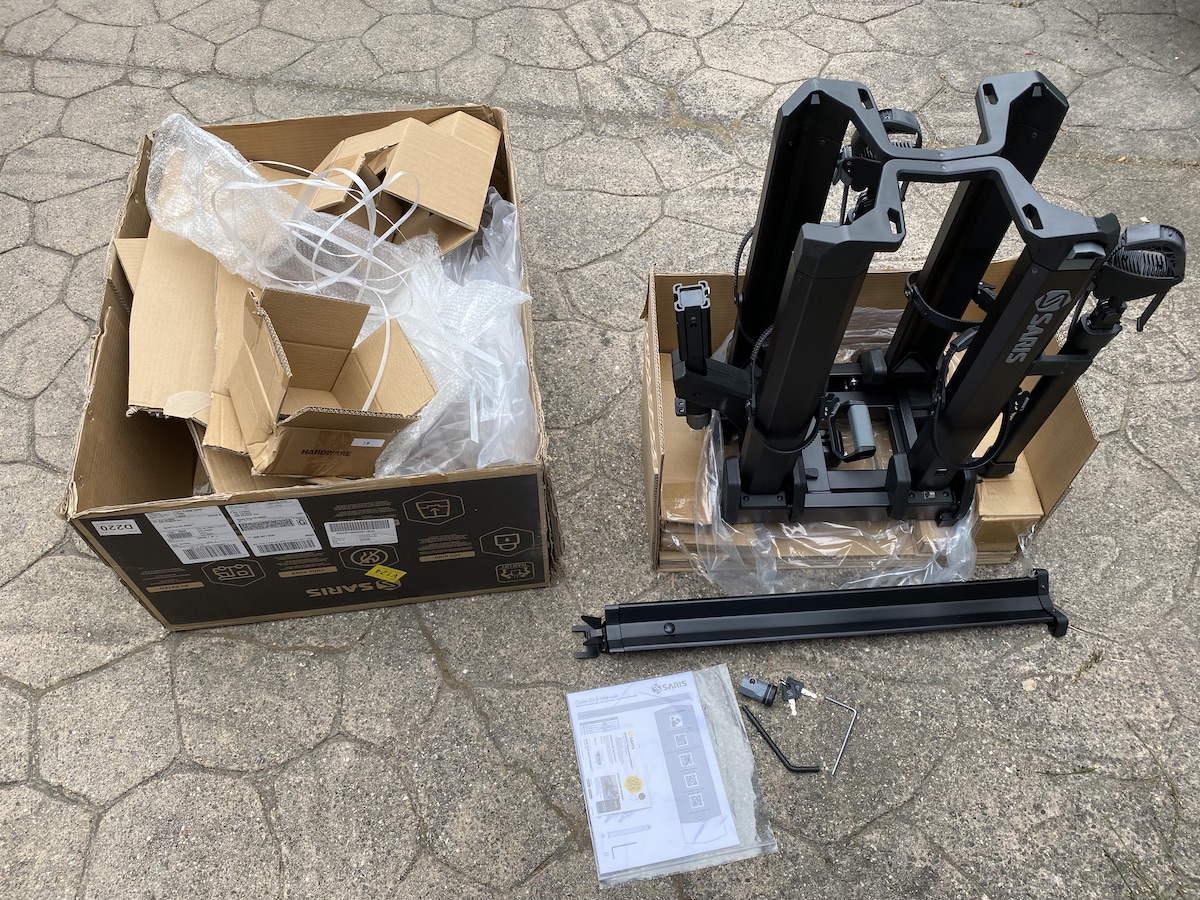
This is NOT a holds-by-the-wheels-ONLY hitch rack, unless…
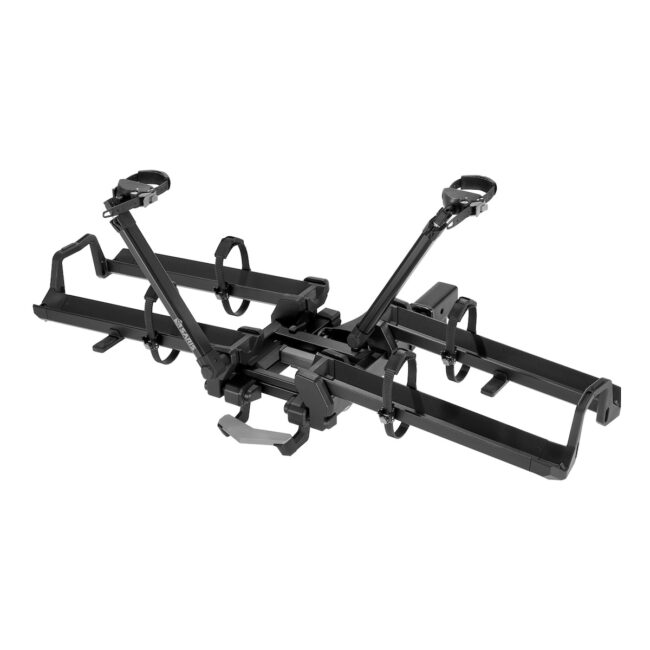
So, I want to make sure you understand that today’s rack, the Saris Cycle-On does support bikes by the wheels (which are held by rubber straps), but it also uses what they call “bike grabber arms.”
These are telescoping arms with moveable heads and cinching rubber straps that wrap around the bike part you’re holding on to (keep reading). There are soft rubber holders on the straps that cushion and protect the bike.
It’s your choice where you grab the bikes. The grabber arms will reach the seatpost, the seat tube (what the Saris video below shows), the top tube, the down tube and the top of the rear wheel. So if you choose to hold the bike by the rear wheel, the rack still won’t touch any part of the bike other than the wheels. If you insist that it only touches the tires, this rack can’t do that.
The Most Convenient Hitch Rack I’ve Used
I wrote up a short piece on the Cycle-On earlier this year when I learned about it during the Sea Otter Classic bike festival in April. Two features stood out to me then and I’m even more impressed with them now that I’ve been able to use the rack.
The first feature is how small this rack gets when it’s folded. To give you an idea, in one of the photos here you can see the Cycle-On in front of the Saris Edge, which I reviewed last year (a rack that holds by the wheels only).
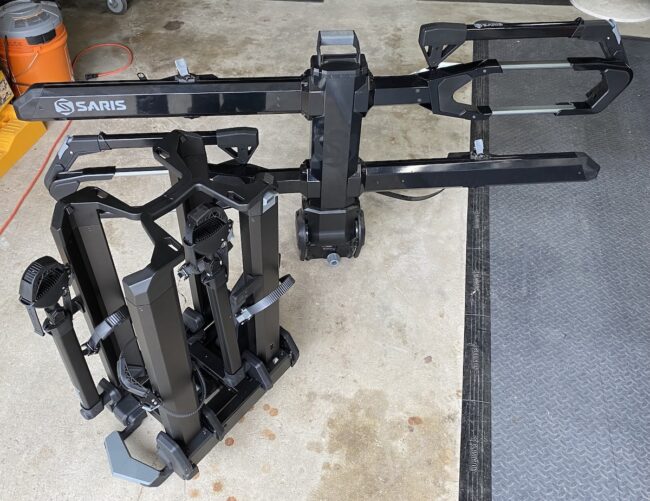
Notice how the Cycle-On (in front) takes up hardly any floor space while the Edge’s trays extend out to both sides (total length about 66 inches or 5 ½ feet). I can’t tell you how many times I’ve bumped into or tripped over the rack in the garage or had to move it over to get it out of the way. At its size and weighing 67.5 pounds, it’s not easy even to push or drag it!
The Cycle-On in comparison is only 31.5 inches tall, 22 inches long and 13 inches wide. Nothing protrudes from the sides of the rack, even the hitch tucks into the center when folded. Plus, it weighs 53 pounds, 14.5 pounds less than the Edge.
Which brings me to my second favorite feature with the Cycle-On, there are two wheels built into the bottom of the rack so that you can simply roll it to move it out to your car or back into the garage. The only time you need to lift it is when putting it on and taking it off your vehicle.
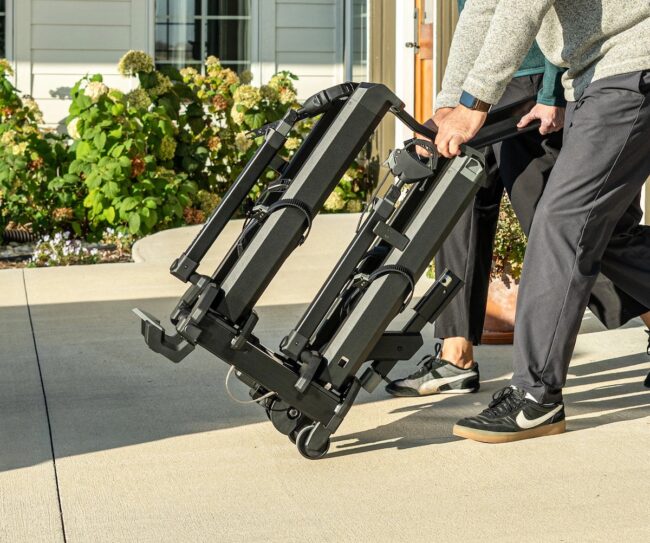
The rack’s small size, compact shape and integrated wheels mean it’s much easier to move around. Even better is that you can store the rack more places since it’ll fit in the back of most cars and even in a small closet. And if, like me, your only option is to leave racks in the garage, I think you’ll love how this rack stays out of your space and way.
Rack Mounting
The Cycle-On fits both common hitch sizes, 1 ¼ and 2-inch. It comes set up for 2-inch. To change it, you use the included 4mm hex wrench to loosen and remove the installed sleeve that converts the rack’s tongue from 1 ¼ to 2-inch, which is quick and easy to do. Once sized to your vehicle’s hitch size, it’s ready to mount.
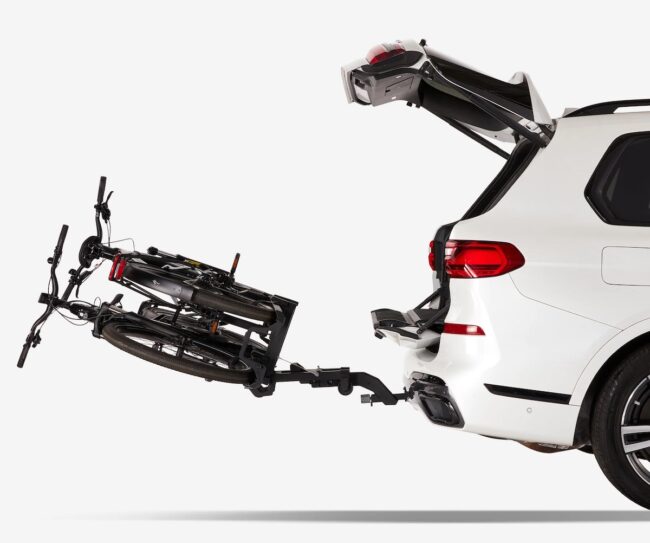
I already mentioned that the wheels on the rack make it easy to roll it to your vehicle. Once it’s there and ready to install, you unfold the rack’s hitch end, which is tucked in when the rack is folded. At this point, like any other hitch rack, you have to lift the rack to get it into the receiver. The wheels can’t help here because they’re on the other end, but you can lean the rack if your hitch is low enough (our Toyota Highlander is), and that can get the end close enough that you only need to lift the rack a little to get it started. Then because it’s not too heavy it’s relatively easy to push it home.
I mentioned under the Not section above that Saris provides a 9mm hitch pin for keeping the rack in the hitch. Since most vehicles have significantly larger holes for hitch pins (usually about ⅝-inch), this means you can move the rack a little in and out when you put the rack in. I push the rack as far in as it will go. Once the pin’s in place, you install the hitch pin lock.
The Cycle-On has Saris’s tool-free anti-wobble rack tightening system to lock the rack securely into the hitch and prevent it moving around. To tighten it in place, you simply grip the rubber knob on the outside and tighten it, turning clockwise and wiggling the rack to feel for play, then keep testing and tightening until the rack doesn’t budge.
There are two slots in the knob too which let you place the 4mm hex included with the rack if you need more leverage to tighten the knob. That’s nice for anyone with smaller hands or not enough strength to get the rack tight enough. Either way you do it, it does a great job because tightening forces a wedge against the inside of the hitch jamming the rack in place.
With the rack installed, it’s just a matter of folding down the wheel trays, which click into place. The grabber arms should stay down against the stops until you’re loading the bikes so that they don’t get in the way of the pedals.
Bike Mounting
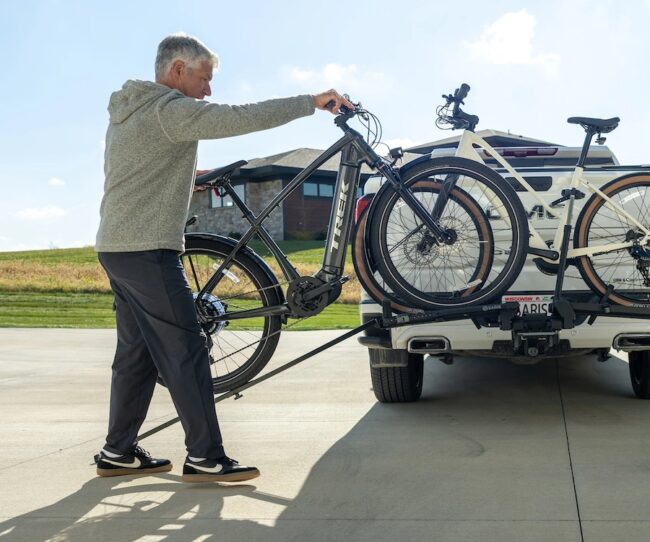
For getting the bikes on, there’s another sweet feature, a loading ramp that is included as a separate piece. It’s made of heavy-duty steel and is an adjustable telescoping 2-piece design with a quick-release clip that easily and quickly locks onto the end of the rack’s wheel trays. It’s a solid connection and won’t fall off. A sturdy ramp like this sure takes the hard work out of getting e-bikes and other hefty bikes on and off the rack.
In my opinion it would be better if there were two ramps that were built into the trays and pulled out from it. That way, you wouldn’t need to move the ramp to load two bikes. And, when things are built in you can’t lose them or forget to bring them along.
But in their defense, having only one ramp that’s a separate piece is one of the ways Saris keeps the Cycle-On light and easy to move around and mount on the vehicle too.
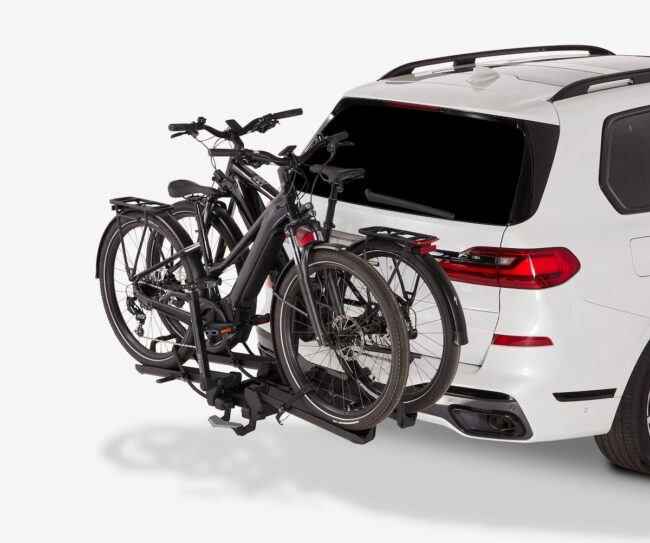
One small mistake I made when I mounted the bikes to the rack was putting them in the wrong direction. I had the bikes the opposite of how they’re meant to be held. It’s my fault for not reading the instructions carefully.
I only mention it because it wasn’t obvious looking at the rack that the rear wheels should be placed on the wheel trays that the grabber arms are attached to. I think Saris might want to put messages on those trays saying “REAR WHEEL GOES HERE,” or words to that effect. Because not everyone loading bikes is going to have a chance to read the directions.
Nice Strap Features
I appreciate that the straps holding the wheels can be placed into buttons on the sides of the strap buckles to get the straps out of the way and ready for use when you’re loading bikes. The same buttons hold the strap ends out of the way when the bikes are on the rack.
It’s a small but important feature because when straps are just dangling they get in the way, which makes loading bikes more difficult, and if they get stuck under the tire you have to move or lift the bike to get them out. Messing around with the straps like this you could lose control of the bike and let it fall over banging into the other bike or even dropping it off the rack and hurting yourself.
Before fully cinching the wheel straps you raise the bike grabber arms and attach their straps where you prefer. They’re easy to extend and the ends with the straps flip over, aligning the straps nicely with the different places you can hold it. I think the best option is the seatpost since it’s how bikes are held in bike repair stands so they can take it. And if there’s concern about scratching a seatpost, you could wrap it with something first, but the holders on the strap seem very well designed and safe to me.
To finish bike mounting, the straps are tightened and you probably want to use the built-in locks on the bike grabbers to secure your precious cargo (the same keys fit the hitch pin lock). Lastly, be sure to put the loading tray in your vehicle to use when you arrive, and you’re good to hit the road.
Conclusion
Overall, I think Saris has a versatile, super convenient and easy-to-use rack in the Cycle-On that solves several significant problems other hitch racks suffer from. I absolutely love its compact size, built-in wheels that let you roll it instead of having to lift and carry it, and the included ramp, that is the only way some people could even get e-bikes onto a rack on their own – and in a few years that somebody is going to be me!
I have tried to cover all the important features but I could have missed something, so be sure to watch Saris’s full demonstration of all the features, mounting the rack and loading bikes here:
Jim Langley is RBR’s Technical Editor. A pro mechanic & cycling writer for more than 40 years, he’s the author of Your Home Bicycle Workshop in the RBR eBookstore. Tune in to Jim’s popular YouTube channel for wheel building & bike repair how-to’s. Jim’s also known for his cycling streak that ended in February 2022 with a total of 10,269 consecutive daily rides (28 years, 1 month and 11 days of never missing a ride). Click to read Jim’s full bio.

I know this rack touches the bike but rack only weighs 14lbs and folds up very small. Caries bikes up to 40lbs. It carries my Creo easily. https://kuat.com/products/beta?variant=47366608355626
Thought you might be interested, Jim
Thanks Jim, I’ll take a look, appreciate it!
Jim