
By Rick Schultz
![]()
https://redshiftsports.com/collections/handlebars
Hot
- Many choices
- 2 rise options, 50mm and 70mm – I chose 50mm
- 5 width options, 41cm, 44cm, 47cm, 50cm, 53cm – I chose 44cm
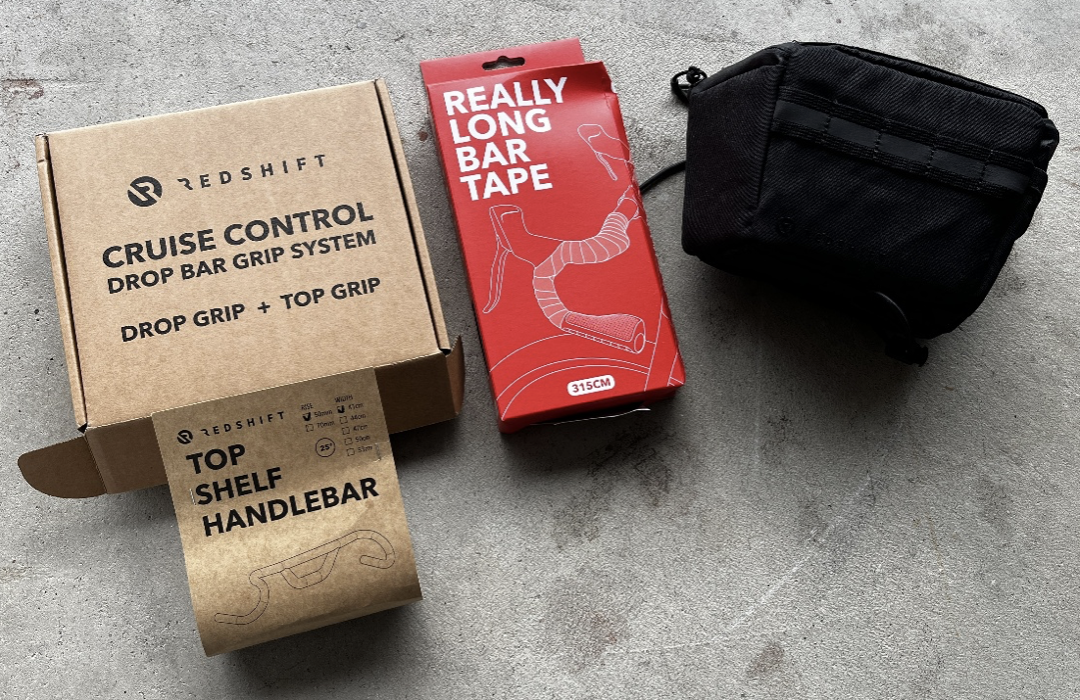
- Bag and/or Garmin/Wahoo Mount – I chose Bag only
- Cruise Control Grips – Top, Drop, Both – I chose Both
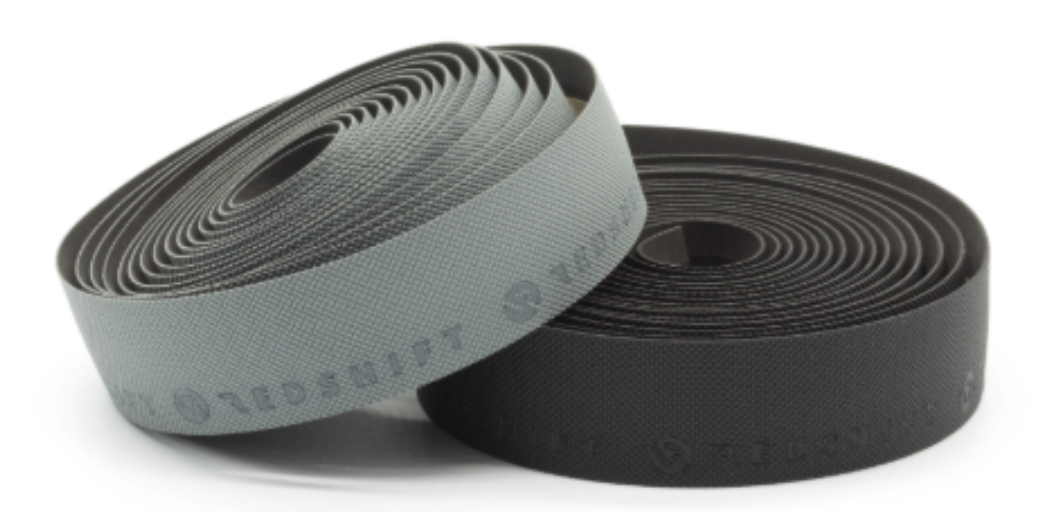
- ‘Really Long’ Bar Tape – I chose Black
- Great for Road, Gravel, Bikepacking, Commuting
Not
- The Cruise Control Top Grips are a little finicky to install but they do make the bars more comfortable to hold
Price MSRP (currently on sale 1/1/25):
- Bars: $112 on sale AS TESTED
- Bag: $72
- Grips: $56
- Bar Tape: $32
Source: Bike shops, Websites
Features: Bars offer a more comfortable upright riding position
How obtained: Sample from Redshift Sports
Summary: High Quality (as always from Redshift) and well thought out solution
Initial Thoughts
Previously, I tested the RedShift Sports ShockStop Suspension System, (Suspension Stem and Suspension Seatpost) and they helped turn my old Dean Titanium 26” Hard tail MTB, i.e., ‘Endurance’ Bike into a better riding gravel bike with their seat post and handlebar suspension system. This allowed me to ride my endurance bike more comfortably off road.
It was great to hear back from Redshift Sports when they had this new handlebar system with an added 50mm of handlebar stack height to make the off-road experience even better. To complete the system, adding comfort grips and a handlebar bag make this experience even better.
Below are photos of the components

Installation

My ‘new’ Lynskey Titanium Road bike is currently running the 12-speed Shimano 105 drivetrain with Rotor cranks. Installation of the bars is easy:
- Pull back rubber shifter covers
- Loosen a 5mm clamp bolt on each shifter
- Slide off shifters
- Remove 4 screws on the stem cap
- Pull old bars off
- Fit new Red Shift Sports Top Shelf Handlebar
- Install 4 stem cap screws and snug fit them
- Slide on shifters
- Set handlebar angle, tighten screws
- Set shifter height
- Tighten 5mm shifter clamp bolts
- Pull back on rubber shifter covers
- Torque bolts and screws to spec
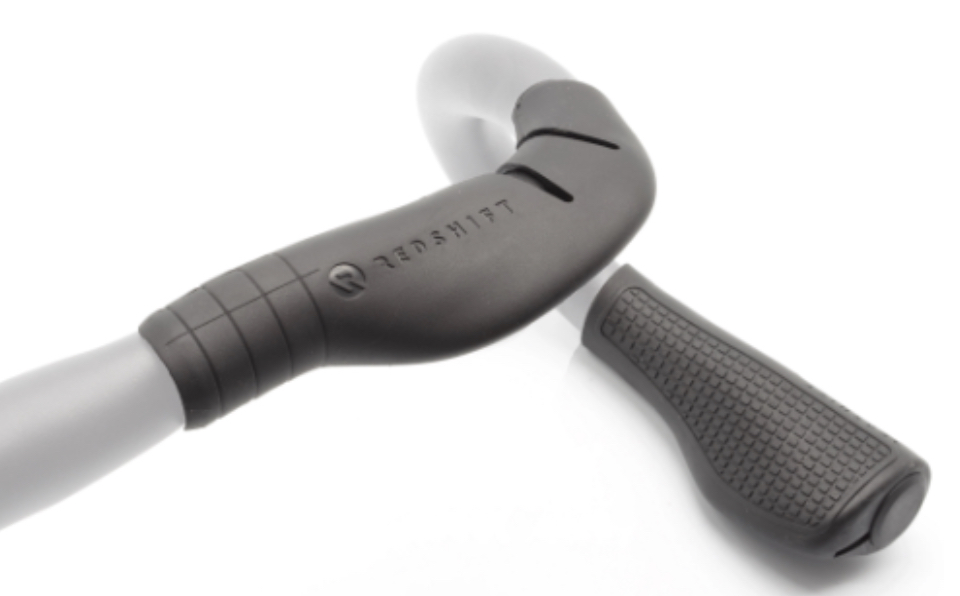
Once this is set, you can now install the Cruise Control Drop Grips
- Place mark about 95mm from the end of the bars. This is the location for starting the bar tape wrapping. Use electrical tape to secure the end of the bar tape.
NOTE: you can also start wrapping from the top after installing the Top Grips - Loosen set screw on bottom of each grip
- Spray end of handlebar and inside of grips with Window Cleaner
- Push on each grip and tap with palm of hand so end of grip is at end of handlebar
- Rotate grips so they are comfortable
- Tighten set screws
- Insert handlebar end plugs
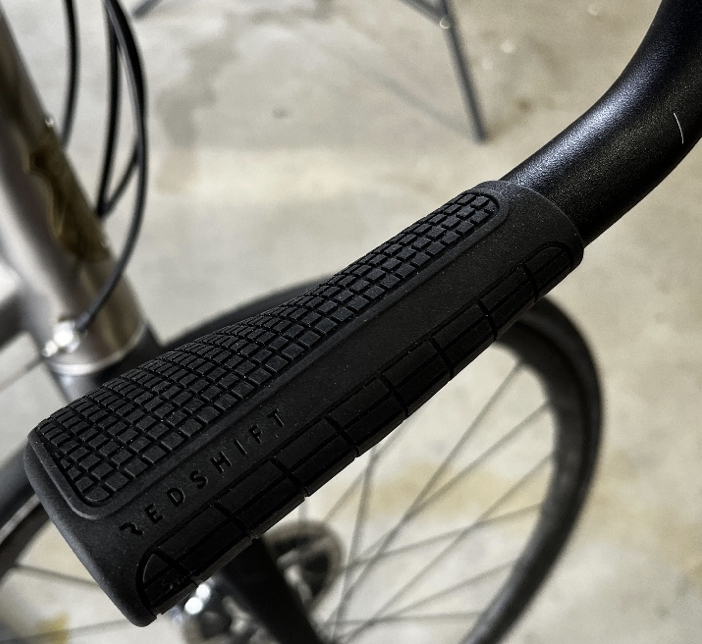
Next Step – Installing Cruise Control Top Grips
Since you are installing a new Top Shelf Handlebar, there is no added work to remove tape, clean bars, etc.

- At this point, your shifter and brake cables are still hanging loose so tuck them up underneath the handlebar and secure with supplied tape in 3-4 places
- Test-fit the grips and remove any extra length with scissors
- Mark the position of the grip on the handlebar with painters tape. NOTE, the top of the grip should be about parallel to the ground
- Stick adhesive stickers to the inside of the Top Grips then press Top grips onto the handlebars
- If you need to make adjustments, you can pull off and reattach
- Next, use the supplied fiber tape to secure the grips to the handlebars (4 locations)
- Remove alignment tape
This completes the installation of the bars, grips and taping
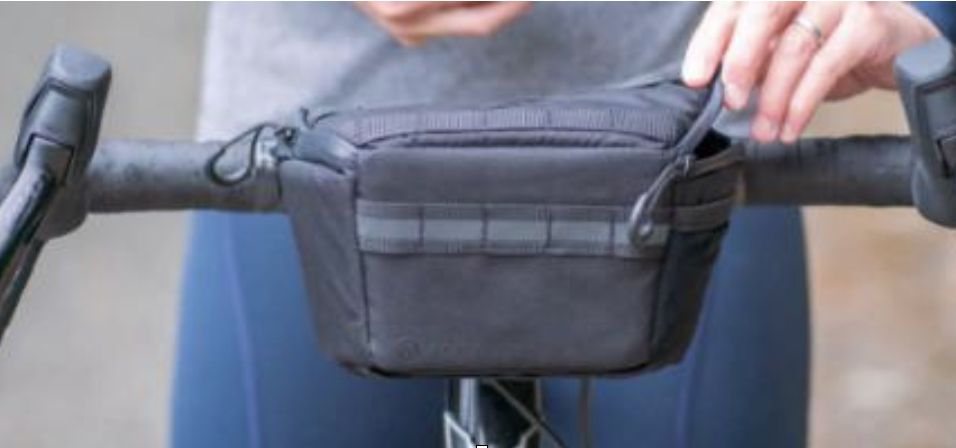
Kitchen Sink Bag
When ordering, make sure to get the correct bag. There are 2, one that fits inside of a loop handlebar and the other fits the Top Shelf Handlebar.

The bag has waterproof zipper closures and 3 magnet to hold the bag closed if unzippered. When opened, the bag has a large padded zippered mesh area large enough for a cell phone, as well as a cargo pocket in the rear of the back for larger storage that you want to keep from rattling around.
The inside (bottom) of the bag measures approximately 6-1/2” (16.5 cm) wide x 3” (7.6 cm) front to back and 3-1/2” (9 cm) deep. The inside top of the bag measures approximately 8” (20.3 cm) wide x 4” (19 cm) front to back.
The bag is very high quality and will hold everything you normally carry in your jersey pockets. What I like about the bag is that because of the 3 magnets, you can leave the bag unzipped and easily reach your hand in to pull out gels or bars.
Trying It Out
Installation of everything was easy and straight forward. For those installing bars for the first time, I recommend you take the bike to a shop since correctly torquing bolts and screws is critical. For those that have installed stems and bars, this is an easy installation.
I experimented wrapping the bars from top to bottom and I think I like this way better. Just take your time when wrapping over the top grips. When getting to the bottom, pull back (slightly) the drop grips, secure the bar tape with electrical tape, then slide back on the drop grips.
The handlebars are highly recommended for those that want to add a little height to your hand position without having to go to a +17 deg or higher angled stem. The 50mm rise bars will get you 2” of rise and the 70mm rise will get you 2.76” of additional height making your riding more pleasurable.
For those that want the entire gravel comfort experience on a non-suspension bike, I highly recommend the Redshift Shockstop suspension system, which includes a suspension seat post and suspension stem.
https://redshiftsports.com/products/shockstop-suspension-system
All Redshift products, including these are highly recommended!
Coach Rick Schultz is an avid cyclist who has trained, raced, and coached in Southern California and now resides in Bend, Oregon where he works as a bike fitter and bike fit educator. Rick is an engineer by trade and a prolific cycling product reviewer. He’s the author of Stretching & Core Strengthening for the Cyclist in the RBR eBookstore. Check his coaching site, www.bikefitnesscoaching.com. Click to read Rick’s full bio.
I rode with Redshift’s 41cm Kitchen Sink with the aero loop, 25° drop flair, plus the top and drop grips. It was perfect for what it is designed for, but I found I didn’t use the drops very much, even on loose gravel and technical single track. The aero loop was nice for battling headwinds, but I rarely needed it. So, I bought their 41cm low-flair version of the Kitchen Sink without the aero loop, and moved the top and drop grips over. A standard length bar taps was all it needed. Three months of riding and I can say that this is the best fitting, most comfortable drop bar I’ve ever used out of the dozens I’ve tried over four decades of road/dirt/CX riding. The shape and angles work perfectly for all situations I put my 10 year old Specialized CruX through.
Rick, I don’t get the advantage of the drop position pads. Maybe I don’t spend enough time in the position to want relief, but I also don’t think much weight is on my hands in this position.
They seem to work best if you have them turned/twisted to where they are the most comfortable. Some riders like them flat, others at 45 deg. Play with them a little till they feel the best